
Water Pump Manufacturing Process Step By Step: From Raw Material To Reliable Performance
When people buy a water pump, they usually focus on flow rate, power consumption, or price. But what truly decides how long a pump will last and how efficiently it performs is how it is manufactured.
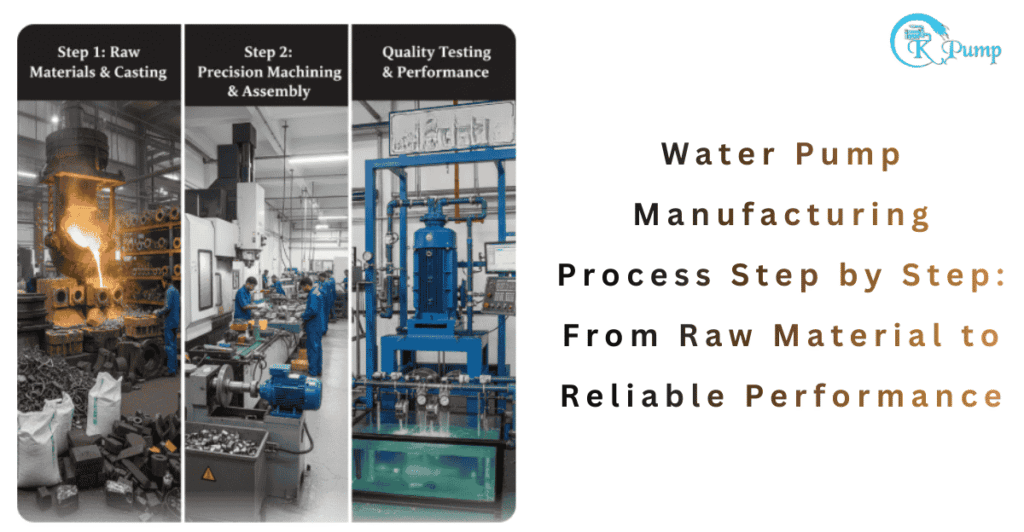
Understanding the water pump manufacturing process step by step helps buyers, engineers, and distributors judge quality beyond surface-level specifications. As a trusted manufacturer of water pump systems, CK Pumps follows a structured, quality-driven process that balances engineering precision with real-world usage conditions.
This guide breaks down the complete manufacturing journey—from raw materials to final testing—in a simple, transparent way.
Step 1: Design & Engineering Planning
Every reliable water pump starts on paper (and software).
At this stage, engineers define:
Pump type (submersible, self-priming, centrifugal, etc.)
Application (agriculture, domestic, industrial)
Energy efficiency targets
Operating conditions (water quality, temperature, duty cycle)
Using CAD and hydraulic simulation tools, the internal flow path, impeller design, shaft alignment, and motor compatibility are finalized. This step ensures the pump will deliver consistent performance without unnecessary power loss.
For a professional manufacturer of water pump products, design accuracy reduces failures later in production and usage.
Step 2: Raw Material Selection
Material quality directly affects pump life.
Different components require different materials:
Pump casing: Cast iron, stainless steel, or engineered alloys
Impeller: Bronze, stainless steel, or high-grade polymer
Shaft: Hardened stainless steel
Motor windings: High-purity copper
Seals & bearings: Industrial-grade, heat- and wear-resistant materials
Inferior raw materials may reduce upfront cost but lead to leakage, corrosion, overheating, or early breakdown. That’s why established manufacturers source materials from verified suppliers and conduct incoming material inspections.
Step 3: Casting & Component Formation
Once materials are approved, core pump parts are formed.
Casting Process
Molten metal is poured into precision molds
Controlled cooling ensures uniform grain structure
Castings are checked for cracks, porosity, or shrinkage
Machining
After casting, components go through CNC machining:
Accurate bore sizes
Perfect shaft alignment
Smooth internal flow surfaces
This step is critical because even minor dimensional errors can cause vibration, noise, or efficiency loss during operation.
Step 4: Motor Manufacturing & Assembly
The motor is the heart of any water pump.
Key motor processes include:
Copper winding with proper gauge and insulation
Rotor and stator balancing
Slot insulation and varnish impregnation
Controlled heating for moisture resistance
A quality manufacturer of water pump units ensures motors are designed for continuous duty, voltage fluctuation tolerance, and thermal stability—especially important for Indian operating conditions.
Step 5: Impeller & Hydraulic Assembly
The impeller determines how efficiently water is moved.
At this stage:
Impellers are dynamically balanced
Clearances between impeller and casing are precisely set
Hydraulic parts are aligned to minimize turbulence
This step directly affects:
Flow consistency
Power consumption
Noise and vibration levels
Poor hydraulic assembly is one of the main reasons pumps fail early or consume excess electricity.
Step 6: Complete Pump Assembly
All major components are now assembled:
Motor + pump housing
Shaft, bearings, and mechanical seals
Coupling alignment
Fastening with torque-controlled tools
Care is taken to ensure:
No internal friction
Proper seal compression
Correct lubrication
Experienced technicians play a big role here. Automation helps, but skilled human inspection ensures real-world reliability.
Step 7: Quality Testing & Inspection
Before any pump reaches the market, it undergoes strict testing.
Common tests include:
Hydraulic performance test (head & flow)
Power consumption measurement
Insulation resistance test
Load and no-load motor testing
Leakage and pressure testing
Noise and vibration analysis
This is where a serious manufacturer of water pump products stands apart. Pumps that don’t meet internal benchmarks are rejected or reworked—never shipped.
Step 8: Surface Treatment & Finishing
To improve durability and appearance:
Anti-rust coating or powder coating is applied
Corrosion-resistant finishes are used for wet components
Nameplates and branding are fixed
Surface finishing protects the pump during transport, storage, and long-term operation in humid or corrosive environments.
Step 9: Packaging & Dispatch
Final steps include:
Protective packaging to prevent transit damage
Model labeling and documentation
Batch tracking for quality control
Proper packaging ensures the pump reaches dealers and customers in perfect working condition.
Why the Manufacturing Process Matters to Buyers
Understanding the water pump manufacturing process step by step helps buyers:
Avoid low-quality, short-life pumps
Compare manufacturers beyond price
Choose pumps with better efficiency and reliability
Reduce maintenance and downtime costs
For farmers, homeowners, and industries alike, a well-manufactured pump means peace of mind and long-term savings.
CK Pumps: Process-Driven Water Pump Manufacturing
At CK Pumps, manufacturing is not rushed—it’s refined. Every stage, from design to dispatch, is built around performance, durability, and energy efficiency. This structured approach is what defines CK Pumps as a dependable manufacturer of water pump solutions for diverse applications.
Final Thought
A water pump may look simple from the outside, but its performance is the result of dozens of carefully controlled manufacturing steps. The more transparent and disciplined the process, the better the pump performs in real-life conditions.
Choosing the right manufacturer starts with understanding how the pump is made, not just how it is sold.