
Common Installation Mistakes That Reduce Pump Performance — and How to Avoid Them
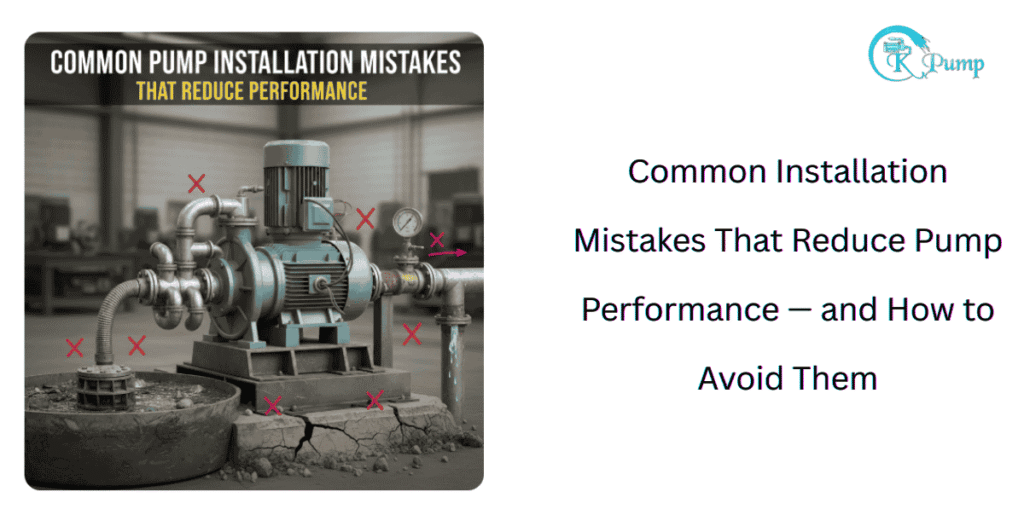
Installing a water pump looks simple from the outside—connect pipes, fix wiring, tighten a few bolts, and switch it on. But the real performance issues start after installation: low water output, unusual vibrations, repeated motor burnouts, or higher electricity consumption.
Even if you buy from a trusted water pump manufacturer, most performance problems don’t come from the pump itself — they come from installation mistakes. Understanding these issues early can help your pump deliver consistent output and run longer without extra maintenance.
If you’re buying a submersible or self-priming pump from CK Pumps, understanding these mistakes can save you maintenance time, electricity cost, and pump life.
Let’s break it down in simple, practical terms.
Wrong Pump Placement — Reduced Flow, More Load
Many pumps are installed too far from the water source, or resting on uneven or muddy surfaces. That forces the pump to work harder, pulling extra current and reducing efficiency.
What happens?
Higher wear & tear
Lower discharge
Pump heats up faster
More electricity consumed for the same work
Best practice:
Place the pump as close as possible to the water source and ensure a stable, vibration-free foundation.
Using the Wrong Pipe Size
One of the fastest ways to kill pump performance is using pipes that are too narrow or too wide.
Too narrow = pressure loss + overheating
Too wide = poor pressure + slow output
Most installers choose pipes based on availability, not recommendation.
Fix:
Always match pipe diameter to manufacturer recommendations.
A mismatch can reduce performance by 20-30% even if the pump is brand new.
Skipping the Foot Valve or Strainer
For surface pumps, skipping a foot valve or using a cheap strainer allows sand, debris, and air to enter.
Result:
Pump loses prime frequently
Increased wear on impeller
Reduced lifespan
Tip:
Invest in a good-quality brass foot valve — it protects your pump better than cheap alternatives.
Poor Electrical Wiring & No Voltage Protection
A pump may be mechanically perfect but electrically weak.
Issues usually come from:
Loose connections
Undersized cables
Missing or faulty MCB
No voltage stabilizer in low-voltage areas
What goes wrong?
Irregular voltage burns windings and reduces motor life.
Recommendation:
Use proper wire gauge and install a voltage protector or MCB to safeguard against fluctuations.
Incorrect Submersible Pump Depth
Many submersible pumps are hung too deep or too shallow.
Too deep = insufficient cooling
Too shallow = pump sucks air
Both reduce performance and cause overheating.
Ideal depth rule of thumb:
Keep the pump above the well bottom, but deep enough to stay fully submerged even when water level drops.
Ignoring Air Leaks in Suction Line
Air leakage is a silent killer—your pump runs, but output drops drastically.
Symptoms:
Pump takes time to prime
Discharge is inconsistent
Pump becomes noisy
Check:
All joints, unions, elbows, and suction sections should be sealed air-tight.
Even a tiny leak reduces efficiency.
Running the Pump Dry
Running the pump without water creates friction, heating, and permanent motor damage.
Why it happens:
No dry-run protection
Water source shortage
Manual switch forgotten
Solution:
Install dry-run protection systems—they automatically stop the pump when water is unavailable.
Ignoring Vibration & Noise After Installation
If the pump is shaking, rattling, or vibrating, it’s a sign of:
Misalignment
Worn bearings
Loose mounting
Cavitation (air bubbles collapsing)
Small vibrations today become major failures tomorrow.
Fix:
Realign and tighten mounting early — it prevents major part damage later.
Using Tap Water Instead of Clean Source During Priming
While priming a surface pump, many installers use tap water mixed with air.
Impact:
Air inside the chamber reduces priming efficiency, causing the pump to run longer and heat up.
Correct practice:
Fill the priming chamber fully and ensure no air gaps remain.
No Routine Check After Installation
A pump isn’t “fit and forget.”
Not checking performance after installation means issues go unnoticed until failure.
Checklist to verify after installation:
Output matches specifications
Vibration level is minimal
Temperature stays normal during operation
No air leakage in suction
Noise is consistent
How to Install a Pump the Right Way
| Step | Installation Best Practice | Why It Matters |
|---|---|---|
| Choose correct pipe size | As per manufacturer specs | Maintains flow & pressure |
| Secure foundation | Stable & vibration-free | Longer motor life |
| Ensure airtight suction line | No air leaks | Higher performance |
| Voltage protection | Stabilizer or MCB | Prevents burnout |
| Proper priming | No air pockets | Fast & efficient suction |
| Routine check | Weekly & monthly | Early issue detection |
Want Hassle-Free Installation & Maximum Performance?
CK Pumps offers guidance and support so your pump performs the way it should — efficiently, reliably, and for years.
✔ Energy-saving pump designs
✔ Installation support
✔ Maintenance tips
✔ Custom recommendations based on water source & usage
Final Word
Your pump’s life doesn’t depend only on the brand —
it depends how well it’s installed.
Avoiding these common installation mistakes can:
Increase performance
Extend pump life
Reduce electricity cost
Minimize maintenance headaches
If you’re planning to install or replace a pump, start with the right practices — your pump will thank you later.